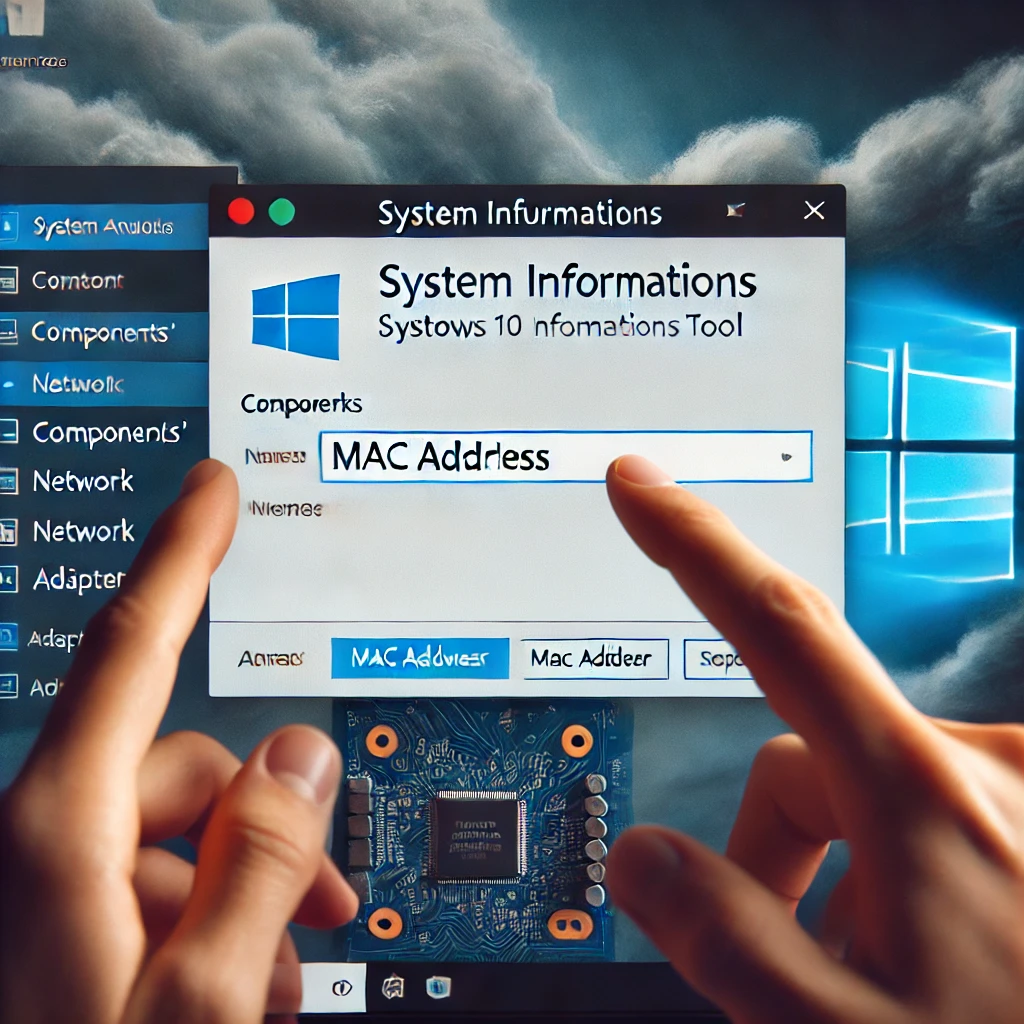
When working with network setups, troubleshooting, or simply securing your devices, knowing how to locate your computer’s MAC (Media Access Control) address is crucial. The MAC address is a unique identifier assigned to your network interface controller (NIC) for communications at the data link layer of a network. It’s important to know that every device connected to a network has a MAC address, and this includes devices running on Windows 10.
This guide will walk you through different methods to find the MAC address on your Windows 10 device. We’ll explore four primary techniques: using the Command Prompt, Network Settings, PowerShell, and System Information.
What Is a MAC Address?
Before we dive into the methods, let’s briefly define a MAC address. As mentioned earlier, a MAC address is a unique alphanumeric string assigned to a device’s network interface. It usually comes in a 12-character format, such as “00-B0-D0-63-C2-26”. This address is used to identify the device on a network, allowing communication between different devices on the same local network.
Now, let’s get into how you can find the MAC address on your Windows 10 system.
Method 1: Using the Command Prompt
The most efficient way to find the MAC address is by using the Command Prompt, especially for those comfortable with using command-line tools. Follow these steps:
- Open Command Prompt:
- Press the Windows key and type “cmd.”
- Click Command Prompt from the search results or press Enter.
- Run the Command:
- In the Command Prompt window, type the following command and press Enter:
bash
ipconfig /all
- In the Command Prompt window, type the following command and press Enter:
- Locate the MAC Address:
- After running the command, you’ll see a detailed list of your network configurations.
- Scroll down to find the section that corresponds to your active network adapter (such as “Wireless LAN adapter Wi-Fi” for wireless connections or “Ethernet adapter” for wired connections).
- Look for the line labeled Physical Address. This is the MAC address of the selected network adapter.
Method 2: Using Network Settings
If you’re not comfortable using the Command Prompt, you can find the MAC address through the graphical interface in Network Settings. Here’s how:
- Open Network Settings:
- Click the Start button and select Settings (the gear icon).
- Go to Network & Internet.
- Find Network Properties:
- In the Network & Internet settings, choose either Wi-Fi or Ethernet, depending on your connection.
- For Wi-Fi, click Wi-Fi and then Hardware properties.
- For Ethernet, click Ethernet and then Network properties.
- Locate the MAC Address:
- In the network properties, scroll down to find Physical address (MAC). This is the MAC address of the corresponding adapter.
Method 3: Using PowerShell
Another command-line method to retrieve the MAC address is through Windows PowerShell, a more powerful alternative to the Command Prompt. Follow these steps:
- Open PowerShell:
- Press the Windows key and type “PowerShell.”
- Click Windows PowerShell or press Enter.
- Run the Command:
- In the PowerShell window, type the following command and press Enter:
mathematica
Get-NetAdapter
- In the PowerShell window, type the following command and press Enter:
- Locate the MAC Address:
- The output will display a list of all network adapters on your system.
- Under the MacAddress column, you will find the MAC address for each adapter.
Method 4: Using System Information
If you prefer a more visual approach without using the command line, you can also find the MAC address using the System Information tool. Here’s how:
- Open System Information:
- Press the Windows key and type “System Information.”
- Click the System Information app from the search results.
- Expand Network Adapter Section:
- In the System Information window, expand the Components section on the left.
- Click on Network, then Adapter.
- Locate the MAC Address:
- Scroll through the list of network adapters until you find the active one.
- Look for the MAC Address field, which will display the address for the selected network adapter.
Why You Might Need to Find a MAC Address
There are several reasons why you might need to know your MAC address. Here are a few:
- Network Security: Some administrators use MAC filtering to enhance network security. In such cases, you may need to provide your MAC address to connect to the network.
- Troubleshooting Network Issues: Identifying the MAC address can help in diagnosing network problems and ensuring proper communication between devices.
- Setting Up Static IP: In some networks, administrators assign a static IP to a specific MAC address, making it essential to know this information for proper configuration.
- Device Identification: When multiple devices are connected to a network, identifying a device through its MAC address can be helpful in managing the network traffic.
Conclusion
Knowing how to find your MAC address on Windows 10 is a fundamental skill that can help with network troubleshooting, device management, and security configurations. Whether you prefer the command-line methods like Command Prompt and PowerShell, or you feel more comfortable with the graphical interface through Network Settings and System Information, there’s a method that works for everyone.

Kyle Wilson is an editor for the Reference team headquartered in British Columbia, Canada. Outside of Insider, he has written for The Verge, VICE, Kotaku, and other media. He occasionally guest co-hosts the Saturday tech show “Tech Talk” on iHeartRadio’s C-FAX 1070.
Feel free to contact him on Twitter, where he is usually found: @KWilsonMG.

Leave a Reply