Changing your MAC (Media Access Control) address, also known as MAC spoofing, is sometimes necessary for troubleshooting network issues, bypassing certain network restrictions, or enhancing your privacy. While it’s not common for the average user to change their MAC address, knowing how to do it can be useful in various scenarios.
In this post, we’ll walk you through the reasons for changing your MAC address, when you should consider doing it, and how to change your MAC address on Windows, macOS, and Linux.
What Is a MAC Address?
Before diving into the steps, it’s essential to understand what a MAC address is. A MAC address is a unique identifier assigned to the network interface card (NIC) of a device, allowing it to communicate on a network. It is a 12-character alphanumeric code that looks like this: 00:1A:2B:3C:4D:5E.
Each network adapter on your device (such as Wi-Fi or Ethernet) has its own MAC address. Typically, you don’t need to change your MAC address, but some scenarios may call for it.
Why Would You Want to Change Your MAC Address?
There are a few reasons why someone might want to change their MAC address:
- Privacy: Changing your MAC address can help enhance privacy and make it more difficult to track your device across networks.
- Bypass Network Restrictions: Some networks may block certain MAC addresses. Changing your MAC address can help bypass these restrictions and allow you to reconnect.
- Device Cloning: If you’re setting up a new router or device, you may need to clone the MAC address of an old device to maintain access to the network.
- Testing or Troubleshooting: Network administrators might need to change a device’s MAC address for testing purposes or to troubleshoot connectivity issues.
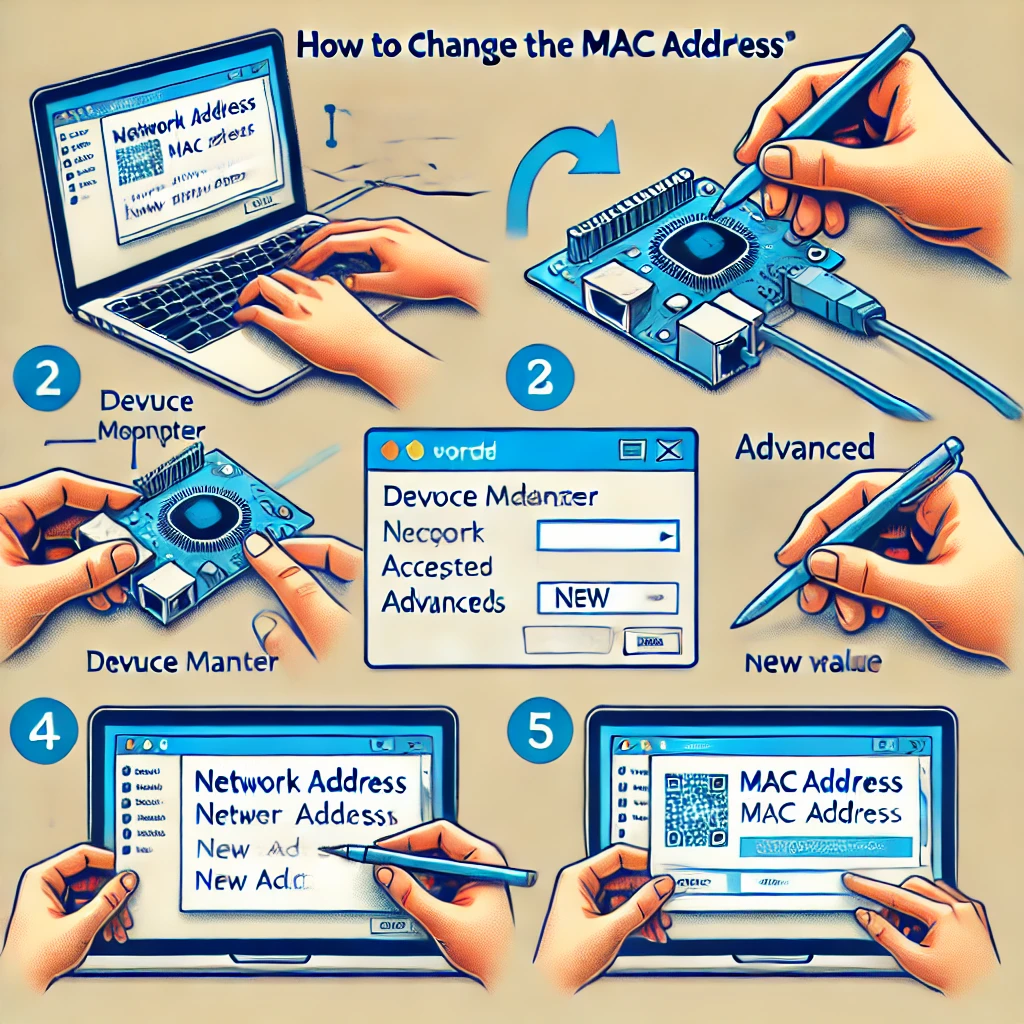
How to Change Your MAC Address on Windows
Windows allows you to change the MAC address of your network adapters through the Device Manager. Here’s how:
Step 1: Open Device Manager
- Press the Windows key and type Device Manager. Press Enter.
- In the Device Manager window, expand the Network adapters section.
Step 2: Locate the Network Adapter
- Right-click on the network adapter for which you want to change the MAC address (such as Wi-Fi or Ethernet).
- Select Properties.
Step 3: Change the MAC Address
- In the Properties window, go to the Advanced tab.
- Scroll down the list to find the entry labeled Network Address or Locally Administered Address.
- Select this option, and in the Value box, enter your new MAC address. This should be a 12-digit alphanumeric code without any colons or dashes (e.g., 0023456789AB).
- Click OK to save the changes.
Step 4: Verify the Change
- After changing the MAC address, verify the new MAC by opening a Command Prompt window.
- Type
ipconfig /alland press Enter. - Look for your network adapter and check the Physical Address field to ensure the MAC address has changed.
How to Change Your MAC Address on macOS
Changing the MAC address on macOS is done through Terminal, and the process is relatively straightforward.
Step 1: Open Terminal
- Open Terminal from the Utilities folder or by searching for it in Spotlight.
Step 2: Check the Current MAC Address
- Before changing your MAC address, it’s good to know what it currently is. In Terminal, type the following command and press Enter:
perl
ifconfig en0 | grep ether
This command will show the MAC address of the
en0interface, which is usually your Wi-Fi adapter. If you’re using Ethernet, you might need to replaceen0withen1.
Step 3: Change the MAC Address
- To change the MAC address, type the following command in Terminal:
sudo ifconfig en0 ether xx:xx:xx:xx:xx:xx
Replace
xx:xx:xx:xx:xx:xxwith the new MAC address you want to use. Note that this must follow the format of a typical MAC address. - Press Enter. You might be prompted to enter your admin password.
Step 4: Verify the Change
- To ensure the MAC address has been changed, run the following command again:
perl
ifconfig en0 | grep ether
You should now see your new MAC address.
How to Change Your MAC Address on Linux
On Linux, the MAC address can be changed using the terminal. The process is quick and works across most distributions.
Step 1: Check Your Current MAC Address
- Open the terminal and type:
ifconfig
or
baship link show
This will list all of your network interfaces and their MAC addresses.
Step 2: Bring the Interface Down
- To change the MAC address, you must first bring the network interface down. Type:
sudo ifconfig eth0 down
Replace
eth0with your network interface name (it could bewlan0for Wi-Fi).
Step 3: Change the MAC Address
- Use the following command to change the MAC address:
sudo ifconfig eth0 hw ether xx:xx:xx:xx:xx:xx
Replace
xx:xx:xx:xx:xx:xxwith the new MAC address.
Step 4: Bring the Interface Back Up
- Once the MAC address has been changed, bring the network interface back up:
sudo ifconfig eth0 up
Step 5: Verify the Change
- Use the
ifconfigcommand again to verify that the MAC address has been successfully changed.
Things to Keep in Mind
- Temporary vs. Permanent Changes: Most of the methods described above are temporary, meaning the MAC address will reset when you restart your device. For a permanent change, you’ll need to modify network configuration files (especially on Linux).
- Legal Considerations: While changing your MAC address is generally legal, it can be illegal in certain contexts, such as using it for malicious purposes or bypassing certain network security restrictions.
- Compatibility: Some network interfaces may not support MAC address changes. If you are unable to change your MAC address, it might be due to hardware limitations.
Conclusion
Changing your MAC address can be helpful in various scenarios, from enhancing your privacy to troubleshooting network issues. Whether you’re using Windows, macOS, or Linux, there are relatively easy methods to spoof your MAC address. However, remember to use this power responsibly, as it can affect your device’s network behavior. Always verify the change after you’ve made it to ensure the process has been successful.

Kyle Wilson is an editor for the Reference team headquartered in British Columbia, Canada. Outside of Insider, he has written for The Verge, VICE, Kotaku, and other media. He occasionally guest co-hosts the Saturday tech show “Tech Talk” on iHeartRadio’s C-FAX 1070.
Feel free to contact him on Twitter, where he is usually found: @KWilsonMG.
Leave a Reply